November 2020 Newsletter
November 2020
 A Note From the Founder – Gratitude and Thanks
by Kerry Cordy
The month of November and the upcoming Thanksgiving holiday always makes me count my blessings and remember how much I have to be thankful for. In a year where it seems every month brings a new challenge, sometimes it is hard to remember how much we have to be grateful for. I challenge you to count your blessings. Every day this month, think of at least one thing you are thankful for. It doesn’t have to be a big thing. In fact some of the things I am most grateful for are rather small. The sun shining through the clouds unexpectedly can stop be in my tracks with its beauty. The smell of chocolate chip cookies baking can make me smile every time. And of course the thing I am always most grateful for, hugs from my kids. Earn the Thankfulness badge. If you have it already, earn it again. You can never have too much practice being thankful.
To get you started here are a couple of ideas from Katie Lundquist, leader of troop #159
Create a “Thanksgiving Tree”
- Construction paper in fall colors
- Cardboard
- Scissors
- Markers
- Glue stick
How to make Thanksgiving tree:
Cut thanksgiving leaf shapes or handprints out of colored construction paper. Draw a tree trunk and branches on a piece of cardboard or large piece of butcher paper. Ask your friends and family to name things for which they are thankful and write them on each leaf. Glue the leaves. You can pin the thanksgiving tree to a bulletin board, hang up a butcher paper tree as a door cover.
A fun game to teach thankfulness:
There is a fun game I try to play with my kids around their birthdays and Christmas, but its fun whenever. You get gift bags and you go around and find random things around the house to put in them. Then exchange the bags like you would a gift exchange. Everyone has to find at least one or two things about the “gift” that they like. It can get funny, but it can also show that we need to be thankful for everything and it helps get them in the habit of saying ” Thank you for the ______, I really like it because ______.” So if someone gets a toilet paper roll, its “Thank you for this awesome toilet paper roll, I really like it because I can make it into a telescope and I love to explore.” The crazier the better. Its helps them to see the good in everything you get, even if you have to reach deep to figure it out.
![]()
New Badge Posted

![]()
A Guide for Curiosity Untamed as a Open ‘N’ Go Homeschool Program
Look at Your Calendar
Pick Your Topics
Choose Your Badges
Organize Your Time
READ MORE
![]()

Origami and Art History Badges
by Holly Nicholson
If you are looking for a fun way to tie two badges together, keep on reading. This article will discuss how members can earn their Origami Badge in conjunction with their Art History Badge. Origami is an ancient form of Japanese paper art that has been around for approximately one thousand years! Lack of substantial written records prior to the 15th century make it difficult to pinpoint the exact date of origami’s conception. The history and methods behind origami are fascinating to learn about!
Get Started
Learning more about the history and methods behind origami will help you appreciate art as a whole. Brittanica has a wonderful article to take you through the history of origami and its unknown origins. The Art History Badge further encourages you to explore famous artists, methods in constructing art, and more. Learn how all types of art have evolved over time, including the development of origami over the past thousand years. Studying art from a general perspective as you focus on origami will leave you with a more advanced background in different types of art, and thus more ready to delve into paper art specifically. Kidsconnect has a great downloadable packet of facts and worksheets that will take you from 32,000 BC all the way to modern times.
Once you have a general understanding of art history and origami’s place in it, it is time to try your hand at paper folding. Origami.me has a fantastic beginners guide to…
READ MORE
![]()
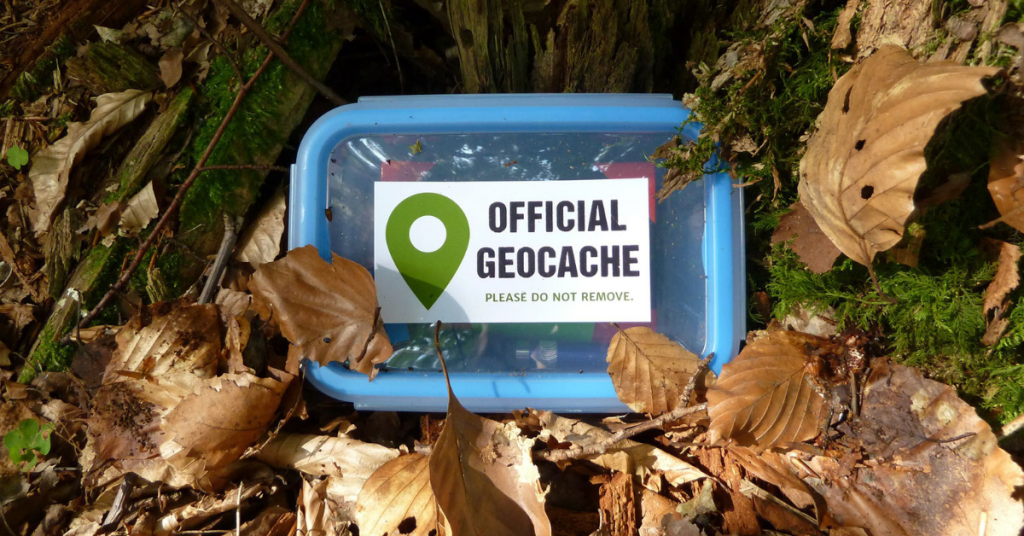
What is Geocaching?
READ MORE
![]()

Seasons Badge Craft
by Rae Austin
Our kids just finished our craft for the Seasons-fall badge and thought we would share. We did the summer one earlier this school year and are working on understanding how the seasons change. We are aiming for a pre-K or first grade understanding. This tree took about an hour and a half to put together and was a lot of work but a lot of fun.
Supplies:
- Tree pattern printed on cardstock
- Fall colored tissue paper (Fall side)
- Cottonballs or white pompoms (Winter side)
- Leaves from silk plants, green tissue paper, or green pompoms (Summer side)
- Small silk flowers or spring colored paints/markers (Spring side)
- Markers, crayons or paints
- Stapler
- Scissors
- Glue
Instructions:
- Print out 4 copies of the tree pattern for each child. While you can use regular copy paper, cardstock will hold up better.
- Have the kids color the trunk of each tree
- Cut out the four trees
- Fall side: cut the fall colored tissue into small pieces, crumple slightly and glue to one tree to depict fall leaves.
- Winter side: glue the cottonballs or white pompoms to one tree to depict snow.
- Spring side: glue small silk flowers to one tree to depict spring or paint flowers onto your tree
- Summer side: glue silk leave, or crumpled green tissue paper on one tree to represent summer foliage.
- When everything is dry, place the fall and winter trees back to back and staple from the top center down one side to the bottom of the trunk. Open and place the spring tree back to back with the winter tree and staple from the top center down the winter side to the bottom of the truck. Open and place the summer tree between the spring and fall and staple down each side.
- Stand up your tree and discuss how the seasons change what the tree looks like throughout the year.


![]()

Butterbeer Recipe from the Learn About Harry Potter Badge
If you feel left out of the Hogwarts scene, whip up a tasty batch of Butterbeer! We have included one of our favorite variations of this drink below. The smell and taste of the drink will make you feel like you are in the Three Broomsticks!
Ingredients
- 2 liters – chilled cream soda (we recommend vanilla flavored)
- ¼ tsp – caramel extract
- ¼ tsp – butter extract
- Cream Topping
- 1 cup – heavy whipping cream
- ½ cup – butterscotch topping
- ¼ cup – powdered sugar
Instructions
- In a mixing bowl, whip the heavy whipping cream until it thickens and forms visible peaks.
- Stir in powdered sugar and butterscotch.
- Mix the cream soda with both the butter and caramel extracts.
- Pour the cream soda mix into cups.
- Top with the cream topping!
* Warning: you won’t be able to put this drink down.
READ MORE ABOUT HARRY POTTER