Polymer Clay Unit Study and Badge Resources
Polymer Clay Unit Study and Badge Resources
Get your creative juices flowing with our free unit study on polymer clay to help you earn your Polymer Clay badge. Other badges you may wish to earn alongside include badges such as the Sculpture, Ceramics, Art, Crafts or Jewelry Making.
What is Polymer Clay?
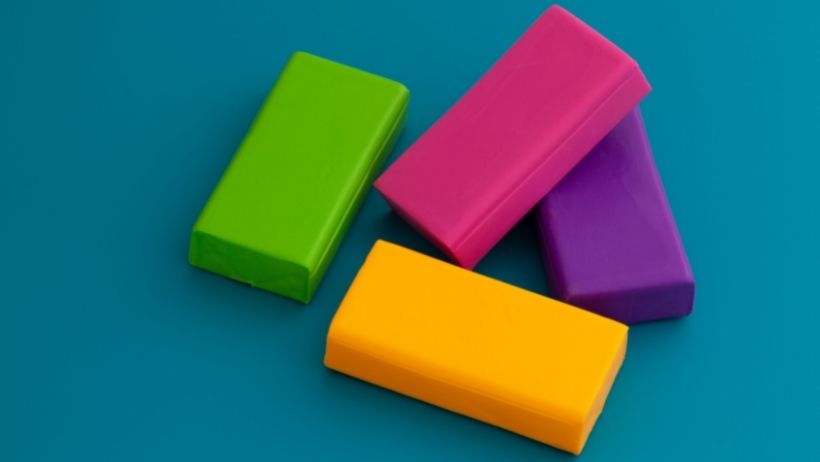
Polymer clay is a synthetic modeling clay made from a polyvinyl chloride (PVC) base. Additives such as bendable plasticizers and coloring agents give polymer clay its flexibility, softness and vibrant color. Unlike air dry clay, polymer clay does not dry out so it is easier to work with and you can set projects aside to come back to later. Once complete polymer clays hardens rapidly in a low temperature oven.
To Do: Get a feel for how to work with polymer clay. Create each of the following shapes:
- ball
- egg
- teardrop
- cone
- cube
- cylinder
- pipe
If you need help, check out Clay It Now’s instructions on basic clay shapes.
To Do: Try to mix colors of clay to make a new color or a tie dye effect.
Fulfills part one of preschool requirement #1 and optional requirement #8
Staying Safe!
While polymer clay inedible, it is non-toxic when used correctly. Under high heat and other circumstances however it can give off fumes. Sculpty brand polymer clay has these safety tips on their website:
“Worried about baking clay in the oven? You can set your fears aside — it is safe to use the same oven or toaster oven you use to cook food in because polymer clay does not give off toxic fumes. However, avoid baking clay on surfaces you plan to use for food. Keep the following tips in mind, and you should have no health issues with polymer clay:
- Do not bake polymer clay at high temperatures. Although polymer clay fumes are not dangerously toxic, fumes at high temperatures may cause eye, nose or mouth irritation if projects get too hot in the oven. Always follow recommended baking times and do not bake creations in the microwave. If clay burns, open windows for ventilation and treat the situation as if you had burned food.
- Do not eat polymer clay.
- Do not coat utensils or cooking tools in polymer clay.
All of our polymer clay products are tested to ensure safety and to meet the standards of the Art and Creative Materials Institute (ACMI). Our products do not contain any allergens like wheat, gluten, dairy, sulfur or latex.
Have you dreamt of decorating a coffee mug with little polymer clay pugs? Do you wish to cover a spoon handle in clay vines and butterflies? Have no fear — you can go ahead and make a dog-lovers mug or springtime-spoon without worries. Be sure to decorate the parts of the objects that do not come in contact with food. We recommend washing your hands after using clay and not making a habit of eating while crafting.”
To Do: Wash your hands before and after using polymer clay. Set aside a specific baking tray and tools that will only be used for baking polymer clay and not food. If possible have the tray be a different size than those you use for food baking to make it easily recognizable. You can also keep safe by keep your baking tray and modeling tools in a craft cupboard rather than the kitchen. Make a space in your house to keep your clay and tools together.
Fulfills part two of preschool requirement #1
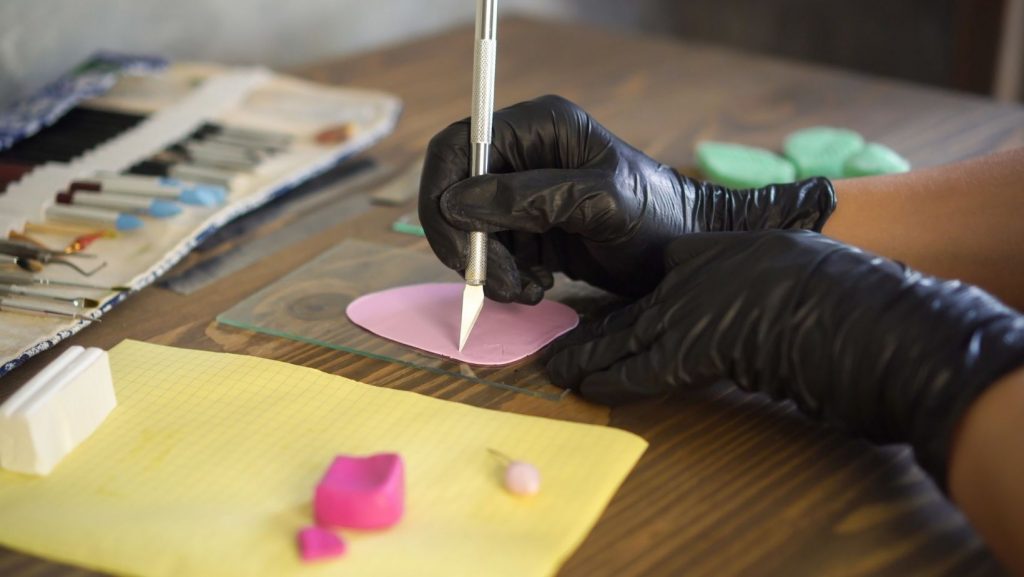
Working with Polymer Clay
Polymer clay can be used in hundreds of different ways. View one or both of the videos above (they are on Youtube so they will have ads) which will demonstrate a wide variety of ways you can manipulate polymer clay.
To Do: Make a sculpture that requires a “skeleton” of foil, wire or toothpicks.
To Do: Make a sculpture using at least 3 different clay shapes.
Fulfills Level 4 requirement #2, and optional requirement #13

Caring for Your Creations
The first and most important step to caring for your creations is to bake them properly. Different brands bake at different temperatures so follow directions carefully and make sure the temperature gauge on your oven is accurate. Overbaking or under baking will affect the finished product. Overbaking may lead to darker colors while under baked polymer clay will easily break, crumble, snap in two, or chip.
Many people make jewelry, plates and small dishes for display, keychains and more from polymer clay. In order for these creations to last they should be stored and cleaned properly. Do not wet polymer creations. Avoid using chemicals, solvents, perfume, jewelry cleaners, or any aerosol products near your creation. These can dull the colors. Use a baby wipe to gently clean the surface of finished clay. When not in use, store your polymer clay creations in a container to avoid scratches.
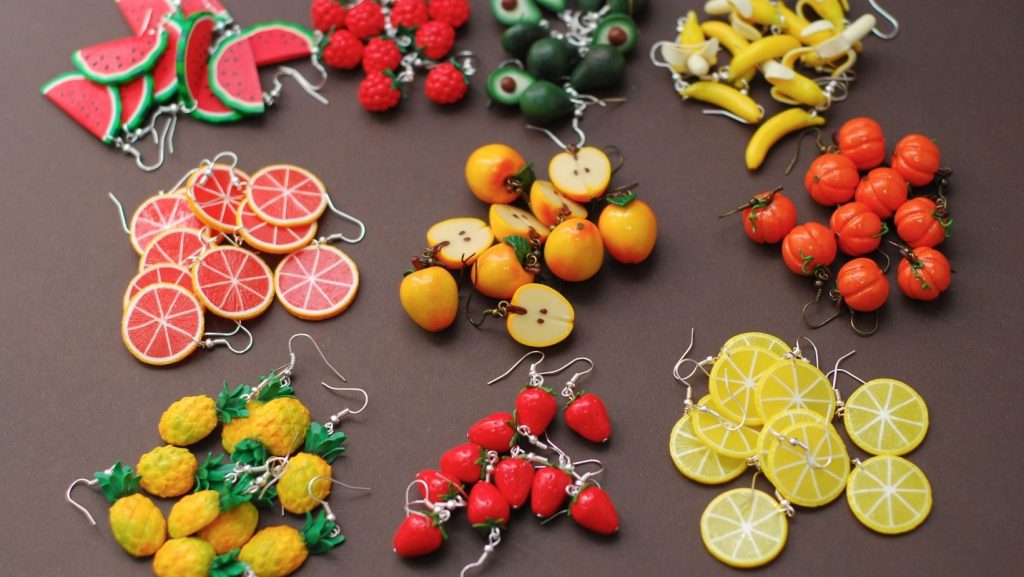
To Do: Make a piece of jewelry or a keychain out of polymer clay. Bake it correctly and then find a small container to keep it in.
Fulfills preschool requirement #2
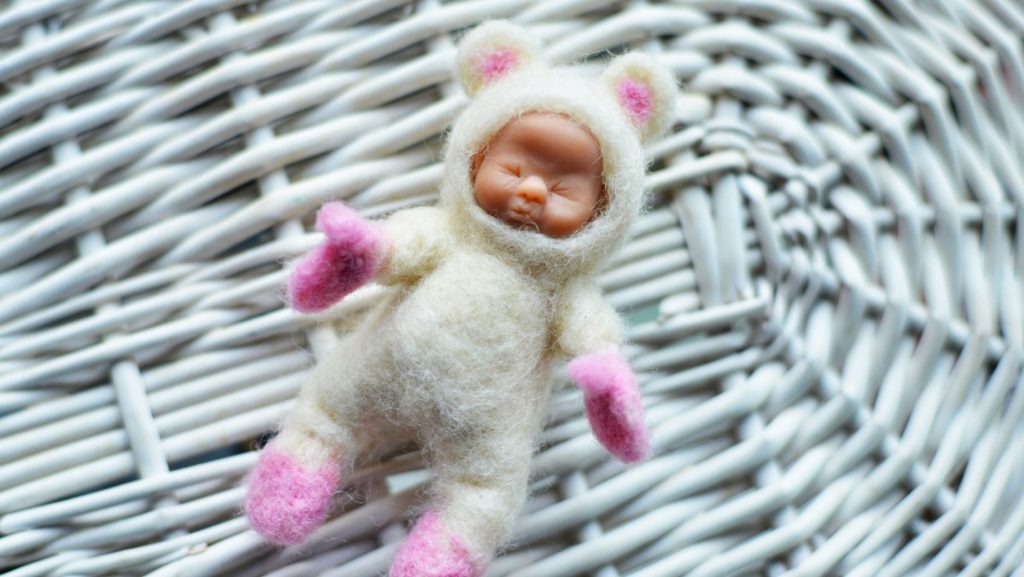
History of Polymer Clay
Polymer clay is a fairly new substance and has only been around since the 1930’s. A doll maker in Germany by the name of “Fifi” Rehbinder-Kruse developed a plastic clay she called, “Fifi Mosaik” which she used to create doll heads. In 1964 she sold the formula to Eberhard Faber who adapted the formula into what is now known as the Fimo brand of polymer clay. You can find out more about the history of polymer clay on the the Polymer Art Archive website.
To Do: Since polymer clay was originally used for dolls heads and doll accessories, use some polymer clay to create either a doll head of your own, or some miniatures as doll accessories.
_____ 2. *Learn some of the history of polymer clay. Watch an experienced person work with polymer clay, either in person or virtually (with parental permission). Look around your house for common items that would make good tools for working with polymer clay. Get permission before using these tools.
Fulfills Level 3 requirement #2
Enhancing Your Creations
While there are plenty of things to make out of just polymer clay, adding things like glitter to make your clay sparkle, or painting it to add details once baked will bring your creations to the next level. Try one or more of the following:
To Do: Using glitter or other additives to enhance you clay.
To Do: Try using paint, ink, or powders to the exterior of your clay .
To Do: Try using stamps or a similar tool to add texture to the clay.
Fulfills optional requirements #3 and #12
Follow our Facebook page for badge of the week posts and other resources. For planning purposes you can see which badges will be featured on our badge of the week calendar. You can also sort and search articles by topic on our main blog page. If you are not already a member, check out our membership pricing page.